
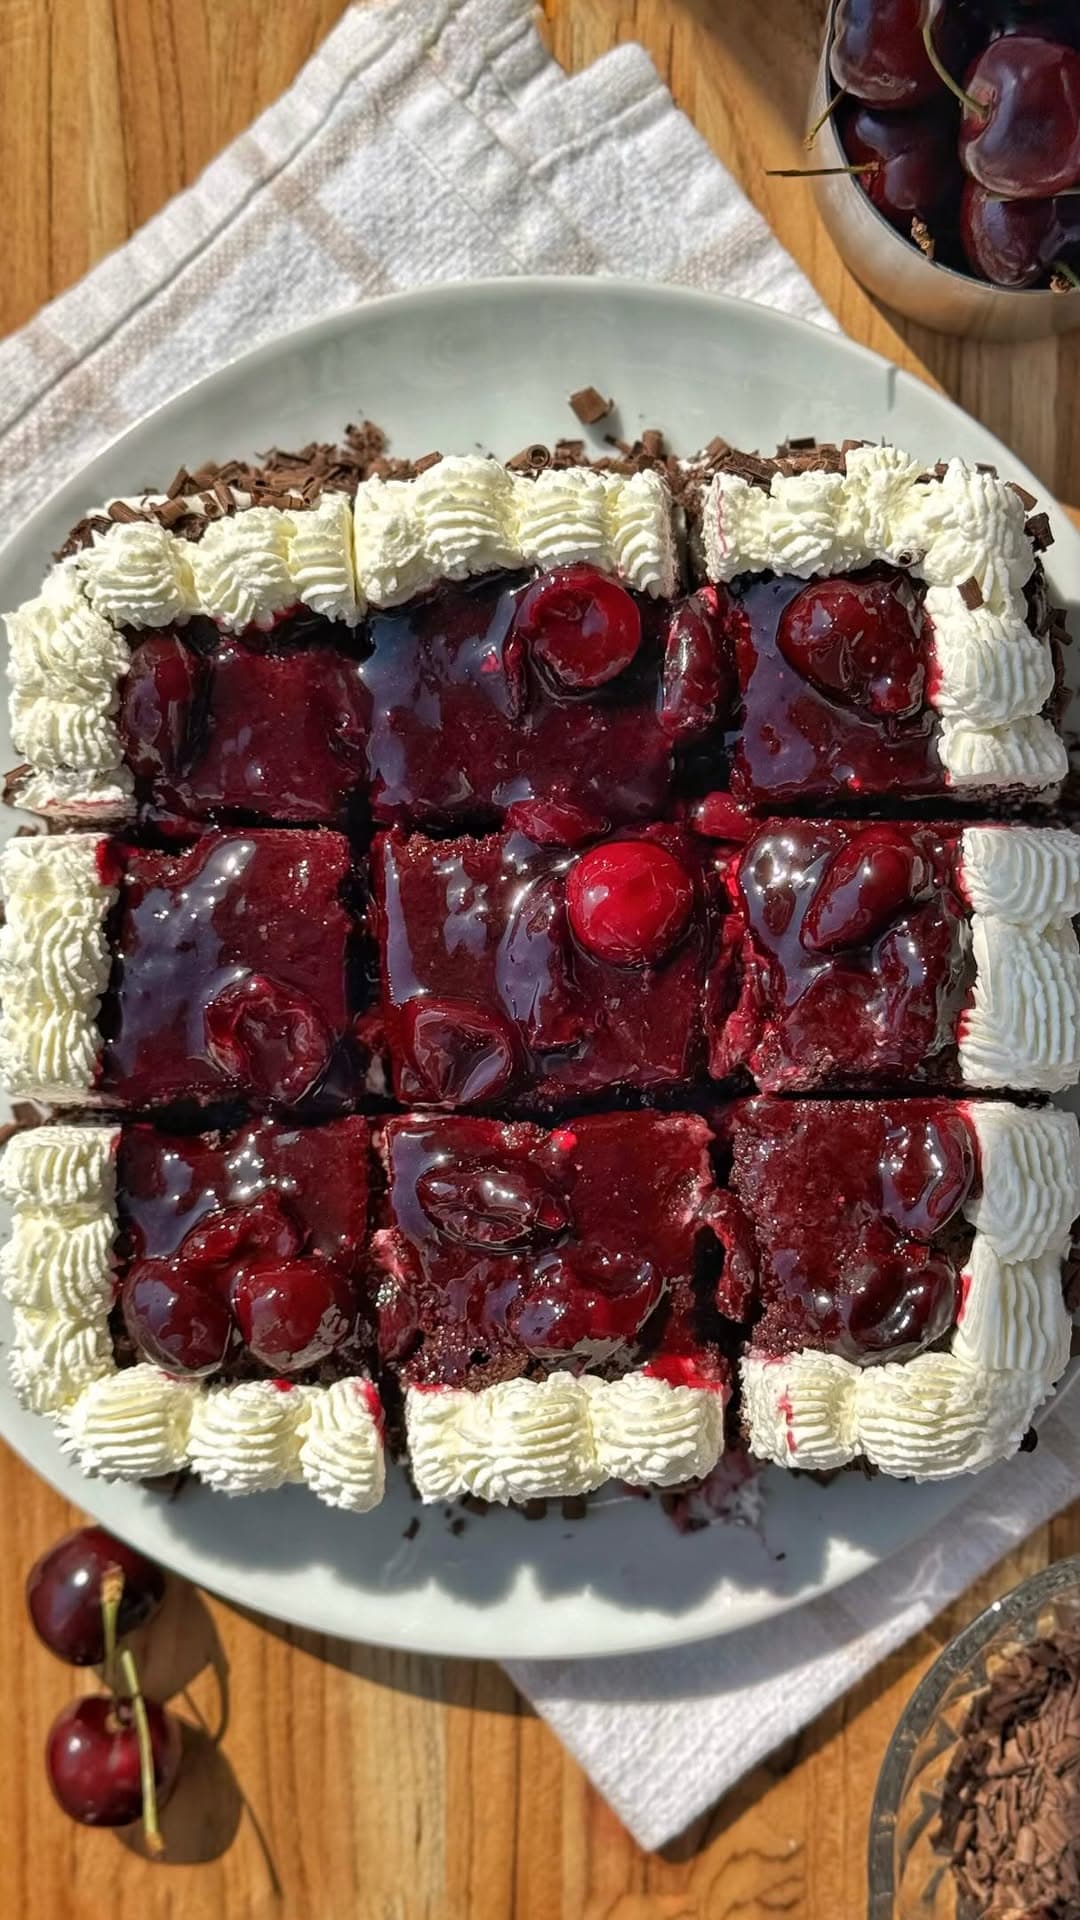
Easy Black Forest Cake
Rich chocolate cake layered with whipped cream and sweet cherries
A stunning homemade version of the classic Black Forest Cake with rich chocolate layers, fluffy whipped cream, and sweet cherry filling - impressive yet surprisingly simple to make.
Equipment
Ingredients
Chocolate Cake

all purpose flour
110 g

sugar
90 g

cocoa powder
40 g

baking powder
3.5 g

baking soda
3.5 g
salt
1 g
egg
1 piece

milk
125 g
vegetable oil
55 g
boiling water
120 g
Cherry Filling

fresh cherries (pitted, halved)
355 g
sugar
10 g

lemon juice
5 g
cornstarch
4 g
Whipped Cream

heavy whipping cream
200 g
sugar
10 g
Assembly
chocolate shavings
30 g
Instructions
Preheat the oven
Preheat the oven to 175°C (350°F) and line an 8x8 inch baking pan with parchment paper.
Make the chocolate cake batter
Add all cake ingredients except the boiling water to a mixing bowl and mix well. Add the boiling water and mix until everything is well combined.
Bake the cake
Pour the batter into the lined 8x8 inch baking pan and bake at 175°C for 25-30 minutes until a toothpick inserted in the center comes out clean.
Cool the cake
Transfer the cake to a cooling rack to cool completely before slicing.
Make the cherry filling
Add all cherry filling ingredients to a small saucepan, stir well, and bring to a boil, then simmer for 3-5 minutes until thickened.
Cool the cherry filling
Remove the saucepan from the heat and let the cherry filling cool completely.
Make the whipped cream
In a mixing bowl, add heavy cream and sugar, then beat using a hand-held or standing mixer until stiff peaks form.
Prepare piping bag
Transfer about 1/3 of the whipped cream to a piping bag for decorating.
Slice the cake
Once the cake is completely cool, slice it in half horizontally to create two layers.
Assemble first layer
Place one cake layer on a plate and spread 2/3 of the whipped cream evenly on top.
Add first cherry layer
Pour half of the cherry filling over the cream and smooth it with the back of a spoon.
Add second cake layer
Place the second cake layer on top of the cherry filling.
Add cream to sides
Smooth the excess cream on all four sides of the cake to create a thin layer for the chocolate shavings to stick to.
Add chocolate shavings
Sprinkle chocolate shavings on the sides of the cake - they will stick to the thin layer of cream.
Pipe remaining cream
Pipe the remaining whipped cream on top of the cake using the piping bag.
Add final cherry layer
Pour the remaining half of the cherry filling on top and smooth it using the back of a spoon.
Original recipe
Storage
Store in an airtight container in the refrigerator. For best texture, bring to room temperature 15 minutes before serving. Can be frozen without the whipped cream topping for up to 1 month.
Notes
• This simplified version maintains all the classic flavors while being much easier to prepare
• Make sure the cake is completely cool before assembling to prevent the cream from melting
Your kitchen, together
Try Chopa today
Save recipes, plan meals, and manage your groceries — all in one place.